- Published at
react-leaflet 搜尋地點

利用 leaflet-control-geocoder 來搜尋地點,取得位置資訊
- Authors
-
-

- Name
- Zup
-
Table of Contents
目的
想辦法利用leaflet-control-geocoder來搜尋地點,並取得經緯度資訊。
初始化
使用Bun, Typescript, Vite, React 以及 TailwindCSS 來建構專案。
bun create vite
選擇 react 後,開啟 VSCode 並依照官網還設定 TailwindCSS。
稍微規劃一下 UI 配置
type Position = {
    lat: number;
    lng: number;
};

export default function App() {
    const [search, setSearch] = useState("");
    const [place, setPlace] = useState<Position | undefined>(undefined);
    const position = { lat: 24.137396608878987, lng: 120.68692065044608 };
    return (
        <main className="overflow-hidden w-screen h-screen bg-slate-950 flex flex-col">
            <div className="w-full h-4/5">{/* MapContainer */}</div>
            <div className="w-full flex-grow flex justify-center items-center gap-2">
                <input
                    type="text"
                    value={search}
                    className="rounded-md p-2"
                    placeholder="search place..."
                    onChange={(e) => setSearch(e.target.value)}
                />
                <button className="p-2 rounded-md bg-slate-700 px-3 text-white hover:bg-slate-600 transition-all">
                    搜尋
                </button>
            </div>
        </main>
    );
}
基本地圖設置
核心的地圖套件有 2+1
- leaflet
- @types/leaflet
- react-leaflet
這三個套件可以讓我們很輕鬆地建立地圖元件,並在網頁上自定義不同的圖標、線條(Polylines),不過目前只要用到最基礎的地圖而已。
使用前,要先記得匯入 leaflet css 地圖才能正常顯示
import "leaflet/dist/leaflet.css";
// 替換上面的MapContainer
<MapContainer
center={position}
scrollWheelZoom
zoom={8}
className="z-0 h-full w-full"
>
<TileLayer
attribution='© <a href="https://www.openstreetmap.org/copyright">OpenStreetMap</a> contributors'
url="https://{s}.tile.openstreetmap.org/{z}/{x}/{y}.png"
/>
</MapContainer>
搜尋位置
先來安裝套件
bun add leaflet-control-geocode
leaflet-control-geocode 在搜尋時,並不是非同步事件。但實際上搜尋一定會花些時間,因此我們要先手動加入 Promise,讓之後的使用更方便一點
匯入套件
import { geocoders } from "leaflet-control-geocoder";
function geoSearch() {
    return new Promise<Position | undefined>((resolve, reject) => {
        const geocoder = geocoders.nominatim();
        geocoder.geocode(search, (result) => {
            const r = result[0];
            if (r) {
                resolve(r.center);
            }
            reject(undefined);
        }});
}
這裡其實有兩種寫法,除了上面以外,leaflet-control-geocoder作為leaflet的擴充套件,也可以直接拿來使用
import L from "leaflet"
...
const geocoder = L.Control.Geocoder.nominatim();
一樣會有相同的結果。
but, 這樣做雖然可以運作,但 Typescript 會無法辨認。所以還是分開匯入geocoders使用,會比較好。
用 Promise 的好處是,可以直接使用.then & .catch 來處理搜尋結果。
接著再來建立一個 handle function
const handleSearch = () => {
    geoSearch()
        .then((data) => setPlace(data))
        .catch(() => alert("No place finded"));
};
這樣子如果有找到地點,則place state 就會更新
將handleSearch綁定到搜尋框以及搜尋按鈕上
<input
    onKeyDown={(e) => {
        if (e.key === "Enter") {
            handleSearch();
        }
    }}
    ...
/>
<button onClick={handleSearch} className={...}>搜尋</button>
這樣子搜尋功能就做完了
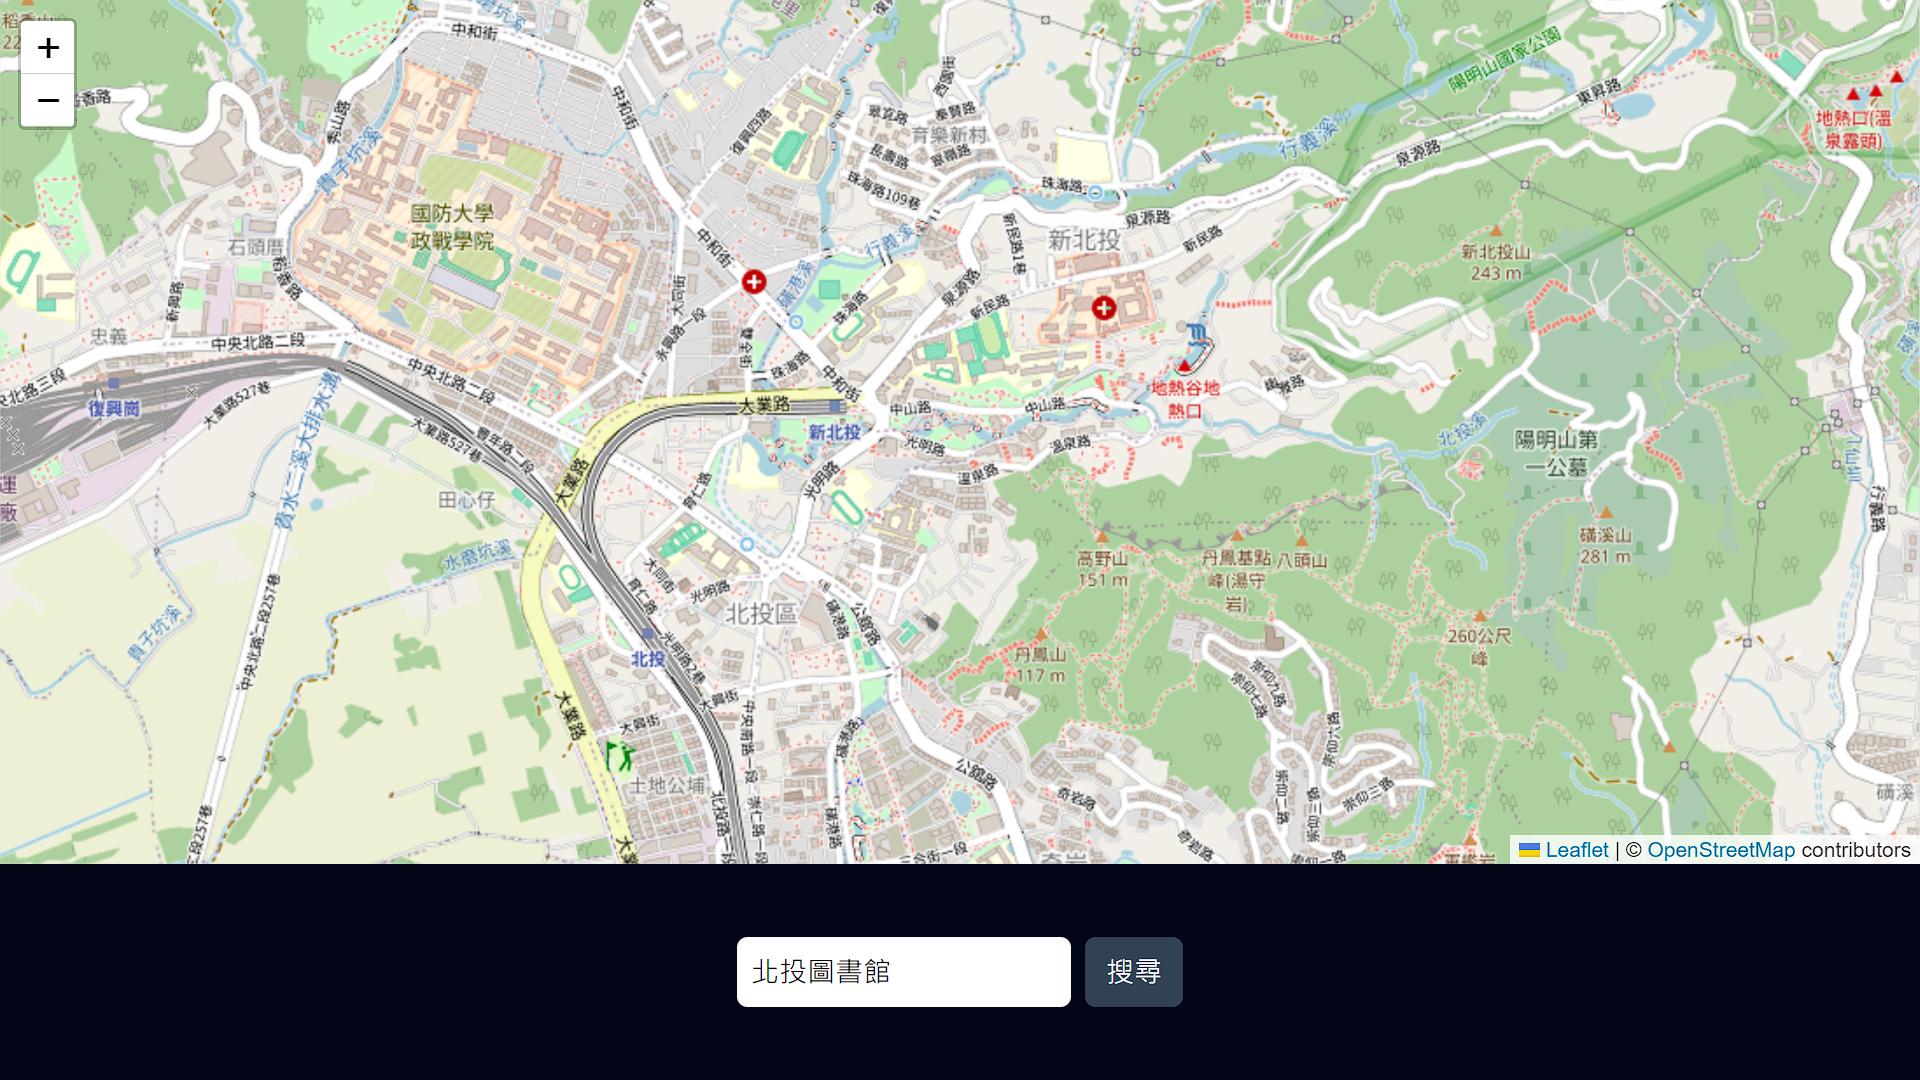
FlyToPlace
地點抓到了,但地圖沒有更新。
此時在<MapContainer>的子元件中,可以使用useMap hook,來讓地圖自動移動到搜尋的位置
<MapContainer>
    <TileLayer  ... />
    <FlyToPlace place={place} />
</MapContainer>


function FlyToPlace({ place }: { place: Position}) {
    const map = useMap();
    useEffect(() => {
        if (place) {
            map.flyTo(place, 15);
        }
    }, [place, map]);
    return null;
}